Dehydrator
Page created: 4th June 2021
This is just a quick image dump and brief introduction of my infrared solar dehydrator prototype of the Larissa Walk type. To find out more about how this kind of dehydrator works, design principles and how to build one, go to her website (links below).
Basically, this type is ideal for less than ideal situations like humid and/or cooler climates. The solar collector area is at a 1:1 ratio to the food tray area. There is a top frame, the solar collector, with some form of glazing on the top and a metal sheet at the bottom with a black surface towards the glazing, and according to her recommendation, the metal is also blackened on the underside facing the food. Below this is another frame with metal mesh at the base onto which the food is spread out. This then sits on a corrugated metal base which is inclined slightly towards the sun and which allows the moist air to travel away. There are many ways you can adapt the design to suit your situation, needs and resources. In the links list I include a few examples of how others have made theirs.
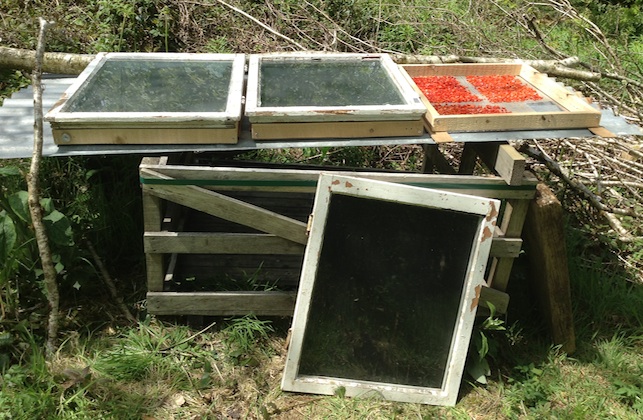
I had a few old windows which were a reasonable size and the aluminium cladding of an old caravan which I used for the solar collector. The food trays were made with 2"x1" softwood, screwed together at the corners and some 5mm weld-mesh attached to the bottom. The galvanised weld-mesh is not suitable for direct food contact, except perhaps for dryish leaves or anything else dry with minimal contact like peel-side down wedges or halves of fruit or veg. I have smaller stainless steel mesh trays I place on top, and you can also use loose weave fabric or teflon BBQ mesh mats to place under the food. I used weld-mesh as it was a cheap way to create a large amount of drying surface as I will also use these trays to dry wool fleece and other non-food items where the material is not as critical.
I placed the whole shebang on a sheet of corrugated roofing placed on a crate in the sunniest spot I could find before clearing more vegetation for a better spot. It is far from perfect at the moment, and there were only a few partially sunny days to try it out so far, but I am impressed at how well it works. I will definitely upgrade and expand capacity. That is one of the nice things about this design, you can make it modular and add to it as the need arises.
In later updates I will go through my design and observations in more detail and how I use it, together with ways to add off-grid backup, and ideas for alternative design elements. So make sure to subscribe to be notified, as my additions are rather erratic.
Just a quick note about the black paint before you rush out to buy some. I started with a can of matt black high temperature engine spray paint for the sun-facing side on a couple of the panels. It was a very unpleasant job, even in the still open air with nasty fumes and poor spray paint. It was a well-known brand, but despite shaking it as instructed, it still delivered lots of globs of paint. The panels don't really get hot enough to require this kind of paint, so I switched to Rustin's exterior grade acrylic, water-based blackboard paint, which was way cheaper, more pleasant to use, works well, can be used on the food-facing underside and is a much deeper black than the engine paint. There are other ways to blacken the panels, but that will have to wait for the next instalment.
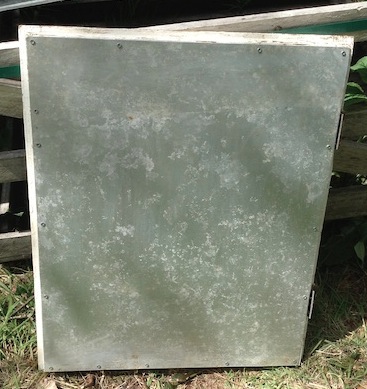
Underside left unpainted - tests still to be done if there is a sufficient difference to justify painting
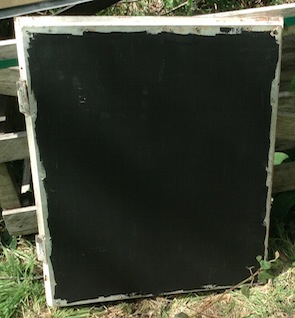
Painted with blackboard paint - does mark easily when moved around as the panels are not fixed in place
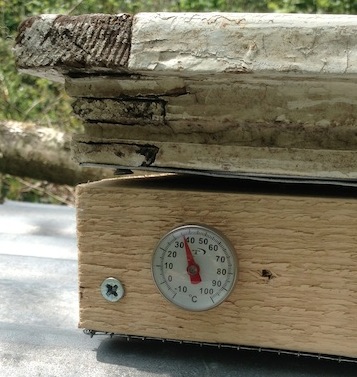
Oven thermometer in drilled hole - temperature has risen to about 60ºC (140ºF)
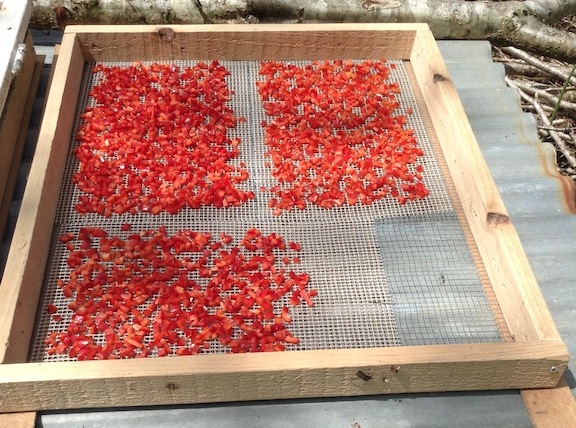
Chopped sweet peppers
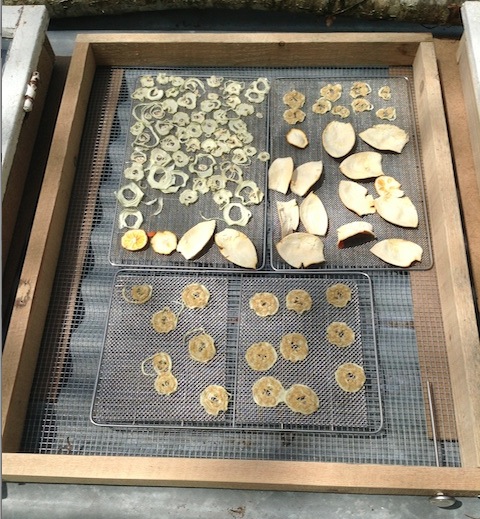
Onion slices and orange peel (organic, unsprayed). Some onion slices were sprinkled with nutritional yeast to give a cheesy flavour. Fail - the topping could hardly be tasted and it tended to quickly re-attract moisture from the air.
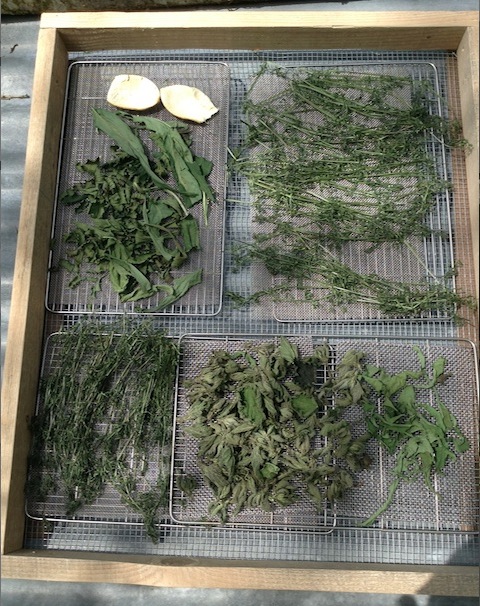
Cleavers, dandelion, plantain and nettle leaves. Plantain tends to go black, so needs a bit of experimenting for best conditions.
Links:
- the original design by Larissa Walk, also a downloadable PDF with instructions
- a cart-mounted mobile version
- the Provident Prepper's version which has a couple of wind protecting features
- the manytracks version with rack over wood burner to finish off if weather turns
- this version with a small footprint has a solar chimney to increase airflow
- and here you can buy plans for the above version or just get an idea of how you might want to build it based on the diagrams shown - it also has a nice feature where the food trays drop down rather than the collector lifting up, which is good for large, heavy collectors based on door-sized glass panels, if that is what you have available